makershala announcement speaker phone image
Join the Parent Board & enjoy exciting benefits. Details here
21st century parent parent of 8 to 16 years old kids parents of stem learners

Rockets

Vidi Shekhar Jha
08 Nov, 23
Vidi Shekhar Jha pic
Manaskriti School, Faridabad
Rockets

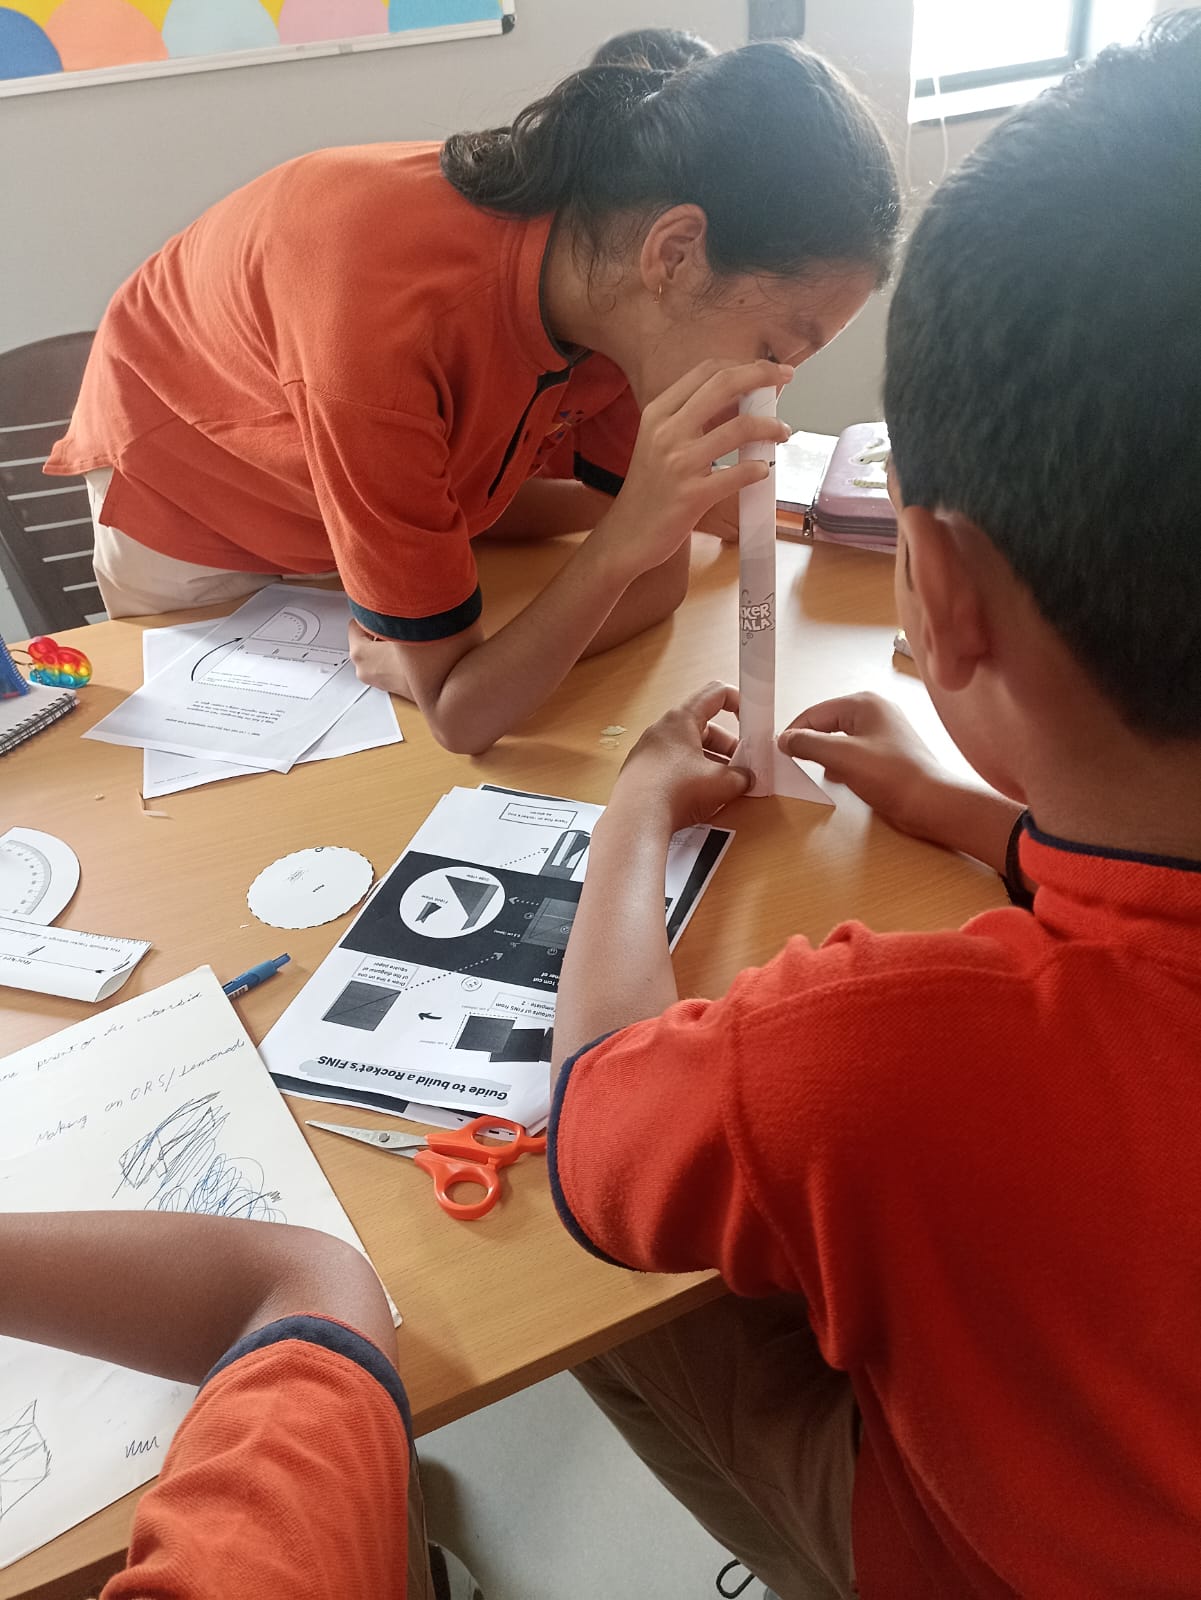
In this project we learnt how to make a rocket and what are the parts of the rocket. This project was very interesting to make. My experience very very good Our team's name was Bolts. This project plays an important role todays times. As it is well known that space exploration and education plays an immense role in the developement of a country. Our teacher has helped us make such projects and always supported us for the same. Space exploration and education is an important key factor every person shall always know. We the students of Grade 7 have had a spectaculor time in creating and implemeting this project. We did not use any complex machinery for the working of this project, we only used air pressure to launch our rockets. We used a bottle, jumped on it and the air pressure that was released, made the rocket fly. After Chandryaan's succesful landing on the moon, we as Indian thought of this as a great opportunity to recreate and implement this in our school. Throughtout the jouney of making rockets, my teacher and Teammates have helped me. We as a class worked together, coordinated and helped each other. We made our rockets with recycled paper. We used the paper to make the body, nose cone and fins. To deal with more realistic Situations we used a software known as Open Rocket Simluator. This software helps us to identify how each rocket shape, size, weight and height differ in the flight, landing and time in air of the rocket. The steps used to make this project are:

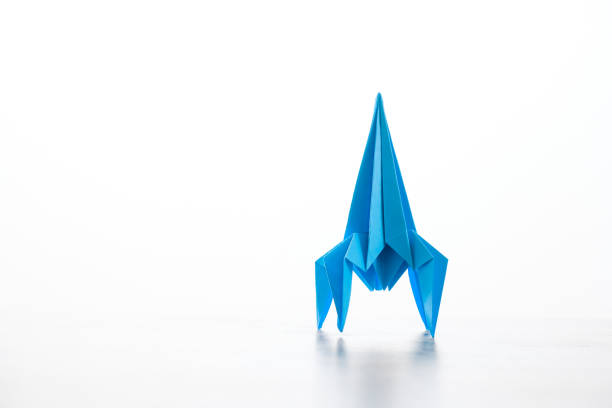
  1. Making a Paper rocket: We used recycled paper in order to make rockets. We made the nose cone and fins as well. We sealed them together with tape.
  2. Making a Launch station: We used PVC pipes to make the launching station. We used connecters in order to make them stay put.
  3. Launch Process: We used a recycled bottle to exert air pressure and achieve the rockets flight.
  4. Analysing the flight: We had 2 atitude check stations on either side of the rocket at 20 feet. We used the rocket altitude tracker and analysed the rough average of the flight obtained. We then used the mathematical operations of trignometery to achieve the exact height of the rocket.
  5. Use of trigonometry for height calculation: As there were two analysis stations, we used trignometery. We took either sides analysis and drew staright lines until their point of meet. We took a graph sheet in which 1 box= 2 feet; For example: if their point of meet is 25 blocks above from the launching station, the height obtained by the rocket would be 50 feet.
  6. Open Rocket SimulatorWe used this software to deal with more realistic situations like the effect of weight on the rocket, The effect of different nose cones, body types and fins on the rocket. This software gives us the independence of using real life situations and conditions and also helps us to know about the forces acting on the rocket.
  7. Centre of Pressure and Centre of GravityThese are two key factors that are needed to be balanced. The point where all the pressure is assumed to be in a rocket is known as Centre of Gravity. Whereas the point where all the mass of the rocket where it can be balanced is known as Centre of Gravity.
  8. PayloadsA payload generally refers to the part of a data transmission or message that contains the actual data that needs to be communicated or processed. In various contexts, the term "payload" can have different meanings
  9. Testing of Rocket flight using payloadsWe have attached a coin of rs. 2 as a payload in out paper rocket and tested it's flight. It was stable and has gone up to a 40 feet.
  10. Swing Test: We have also fone a swing test to test the stability of the rocket by using a thread.


Vidi Shekhar Jha
Published by
Vidi Shekhar Jha
Individual

*As submitted by students on Makershala portal.
footer_svg

About Makershala

Makershala is a Learning by Making ecosystem for kids from age 8-16 to help them discover their interests, develop future skills and deepen conceptual understanding. Makershala follows the Project Based Learning approach as its way of teaching in which kids work on authentic, real life & personally meaningful projects.

Kids work on these projects in different educational settings, namely; self-learning; online 1:4 Peer to Peer with a mentor; or in a school. Projects are categorized in different interest segments like Robotics, Coding, Electronics, 3D Printing, Animations, Photography, Machine Learning, Astronomy and many more.

Each project is mapped with classroom concepts, 21st century skills, UN sustainable development goals and interests/careers to not only focus on holistic development of a child but help them identify their calling by giving them exposure to problems that exist in the real world.

Why Project-Based Learning

Project-Based Learning has the potential to solve many of the learning problems we see today beyond foundational literacy.

  • Ownership: Learners have complete ownership on what they need to know to solve a problem and come up with the best solution in the best way. It can be a concept or a software tool or a skill. Kids involved in projects are never required to be told to study.

  • Interdisciplinary: Unlike traditional learning where subjects are taught in silos and learners develop a perception of liking or disliking a subject. In project based learning, the given problem is supreme and it may require to know something from maths, science and history together.

  • Experiential learning: We generally retain 75% of what we do as opposed to only 5% of what we hear and 10% of what we read, hence PBL helps kids retain what they learn.

  • Lifelong learning: The most important gift that PBL gives to its learners is to make them lifelong learners as this is the most required skill to lead a good life, personally & professionally.

  • Skills & Knowledge balance: Project-based learning doesn’t focus too much on memorizing information, rather it equally demands practising life skills to be able to do better in projects.

How Makershala Works

  • Parents and Kids who wish to start their journey with Makershala, are suggested to pick one interest area of the child and then choose a plan.

  • Parents and Kids after enrolling in a course based on their interest are assigned a batch. Each batch has 3-4 learners and 1 mentor.

  • Each course has 6 guided projects and 1 challenge project.

  • During the project, formative assessments are conducted to evaluate learner’s knowledge & skills.

  • On completion of a project parents and kids get a learning report which indicates the skills and knowledge developed/displayed by them.

  • Kids also build their portfolio which showcases problems solved, solutions created, skills developed, knowledge acquired and technologies learnt.

  • Kids earn rewards in the form of badges, points and coins for their performance in a project, course and overall.

  • Kids are maneuvered to take up courses and projects from different learning segments to gain more clarity on their interests. This eventually helps them in picking up a career.